Camera Grid

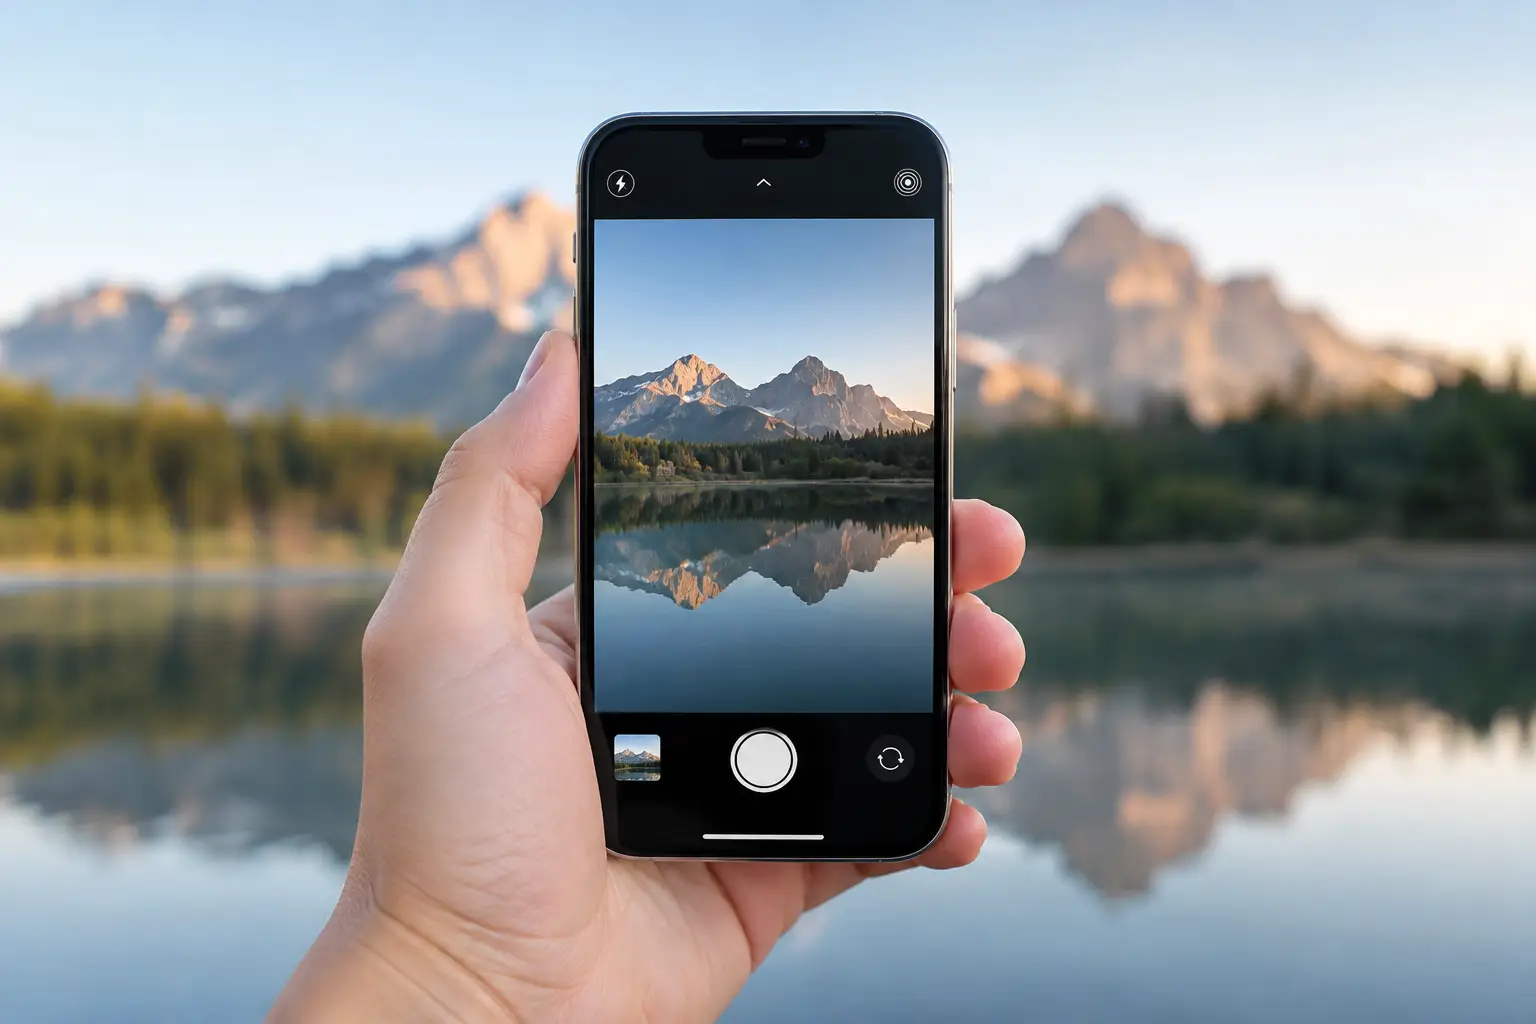
A 48MP iPhone file can hold finer texture, cleaner crop options, and more convincing detail than a standard 12MP photo. It can also fill your storage, slow down your workflow, and make a weak frame look sharply weak. The right iPhone 48MP photo settings start with one question: what do you need this image to do?
If it needs to survive a crop, print large, or receive serious editing, use the extra resolution deliberately. If it is a quick family moment in changing light, a smaller file may be the better photograph. Resolution is a capture choice. Composition still decides whether the image works.
First, confirm your iPhone can shoot at 48MP
48MP capture is available on iPhone models with a 48MP main camera, beginning with select Pro models and extending to newer standard models. The exact formats and controls vary by model and iOS version. The setting applies to the main 1x camera, not every lens.
Open Settings, then Camera, then Formats. Look for controls labeled Photo Mode, Resolution Control, ProRAW & Resolution Control, or similar language. Apple has adjusted these labels across iPhone generations, but the decision is consistent: choose a default file format, then enable high-resolution capture when the scene earns it.
If you do not see a 48MP option, check that your software is current and that you are using the main camera. Certain modes, low-light conditions, flash, Live Photos, and close focusing can shift the iPhone to a lower-resolution capture. That is normal. The phone is prioritizing a usable image over a large one.
Choose the file before you compose
The most useful 48MP setting is not always ProRAW. Match the file to the job.
HEIF Max for high detail without the editing burden
HEIF Max is the practical default for many daylight scenes. It creates a high-resolution image with computational processing intact, so you get a relatively manageable file and a polished result straight from the camera.
Use it for travel scenes, architecture, food in window light, and outdoor portraits when you may crop later. It is especially useful when the subject is stable and the light is good. Set your frame first. Leave a little breathing room only when you have a real reason to crop.
HEIF Max is not the choice for every moving child, dim restaurant, or rapidly changing scene. A 24MP or 12MP image may be faster, more reliable, and more than detailed enough for sharing.
JPEG Max when compatibility comes first
JPEG Max provides a high-resolution image that is easy to share with older software, clients, or devices that do not handle HEIF well. Its trade-off is larger files and less efficient compression.
Choose JPEG Max when the image needs to move immediately into a simple workflow. Otherwise, HEIF Max usually gives you similar practical flexibility with less storage pressure.
ProRAW Max for files you plan to shape
ProRAW Max is for controlled scenes and intentional editing. It retains substantially more image information for recovering highlights, adjusting white balance, and refining color and tone later. It also creates very large files.
Use ProRAW Max for a dramatic sunrise, a carefully lit portrait, an architectural scene with bright windows and dark interiors, or a landscape you expect to print. Do not turn it on just because it is available. A large RAW file does not improve a rushed composition or fix a subject placed awkwardly against the edge of the frame.
For everyday work, set ProRAW to a lower resolution or leave it off. Reserve 48MP ProRAW for photographs that deserve the storage, editing time, and attention.
How to set 48MP capture in the Camera app
After enabling resolution control in Settings, open the Camera app in Photo mode. Look near the top of the screen for a format or resolution control such as RAW, HEIF, JPEG, or a 48MP indicator. Tap it to activate the high-resolution option before you shoot.
Then check the scene. If the subject is moving, light is fading, or you need Live Photo motion, do not force 48MP capture. Take the dependable frame. The photo you capture cleanly is better than the one you intended to edit later.
For stationary scenes, use this simple sequence: select 48MP, choose your aspect ratio, build the frame, then lock exposure and focus if the scene needs it. Press and hold on the key subject to use AE/AF Lock. This prevents the exposure from changing when you recompose.
Be careful with the 16:9 aspect ratio. It is useful for screens and cinematic framing, but it crops the camera’s native capture area. If you want the most flexible 48MP file, shoot in 4:3 and crop later with purpose.
Set exposure for detail, not brightness
High resolution reveals more than texture. It reveals blown skies, distracting reflections, cluttered backgrounds, and soft focus. Before pressing the shutter, tap the subject, then drag the exposure control slightly down when bright areas are at risk.
A small reduction can preserve cloud detail, white clothing, bright tabletops, and window highlights. You can lift shadows later more easily than you can restore a clipped highlight. This matters most with HEIF Max and JPEG Max, where the finished file has less latitude than ProRAW.
Watch the horizon. Keep vertical lines straight when photographing buildings. If you are shooting food, check the frame edges for cut-off plates, utensils, and glassware that pull attention away from the dish. More megapixels make these mistakes easier to see.
Turn on grid and level, then use them differently
In Settings > Camera, enable Grid and Level. The grid helps you place subjects with intent. The level helps prevent a subtly tilted horizon or tabletop from weakening an otherwise good image.
Do not treat the rule of thirds as a command. A centered subject can be stronger when symmetry, a reflection, or direct eye contact is carrying the picture. Put a portrait subject on a third when the surrounding space tells part of the story. Center them when the background is balanced and the image benefits from stillness.
For architecture, start by keeping key verticals parallel to the frame edge. Step back before reaching for an extreme wide view. A little distance often produces cleaner geometry and leaves room to crop without distorting the structure.
Camera Grid can help here by reading the live scene and placing the relevant guide in the viewfinder. The useful instruction is rarely abstract. It may be as direct as: pan left, tilt up, or step back. Keep the composition correction small, then shoot while the light and expression are still there.
When 48MP is the wrong setting
Use lower resolution when speed matters more than crop latitude. Indoor family photos, pets, concerts, active street scenes, and dim bars usually benefit from the iPhone’s standard computational capture. You will save space and give the camera more room to manage motion and low light.
Also step down when you are taking many images. A long day of travel can produce hundreds of photos. Capturing every frame at 48MP creates a review problem as much as a storage problem. Save high resolution for the frames with clear visual potential: the clean skyline, the layered market scene, the portrait with excellent light, the meal with deliberate styling.
A field workflow for better 48MP photos
Treat 48MP as a finish-quality setting. Turn it on when the scene is stable, the light supports detail, and you can name the reason you want the extra file size. Then make the frame earn it.
Start at 1x for the best 48MP capture. Place the subject. Check the edges. Level the horizon or verticals. Reduce exposure slightly if highlights are bright. Lock focus and exposure when recomposing. Take one careful frame, then a second with a small change in position or subject placement.
The difference between those two frames is often more valuable than the difference between 24MP and 48MP. Choose the setting with purpose. Then move your feet, refine the lines, and make the photograph worth keeping.