Camera Grid
The rule of thirds says: divide the frame into a three-by-three grid and put your subject on one of the lines or where two of them cross. It works because a subject off the middle gives the eye somewhere to travel, and the empty side of the frame gets a job. Break it when the scene is already balanced left to right, when the subject fills the picture, or when a strong line runs straight into the middle. This guide covers how to use thirds well, and how to tell when the middle or another shape will serve the photo better.
What the rule of thirds actually asks
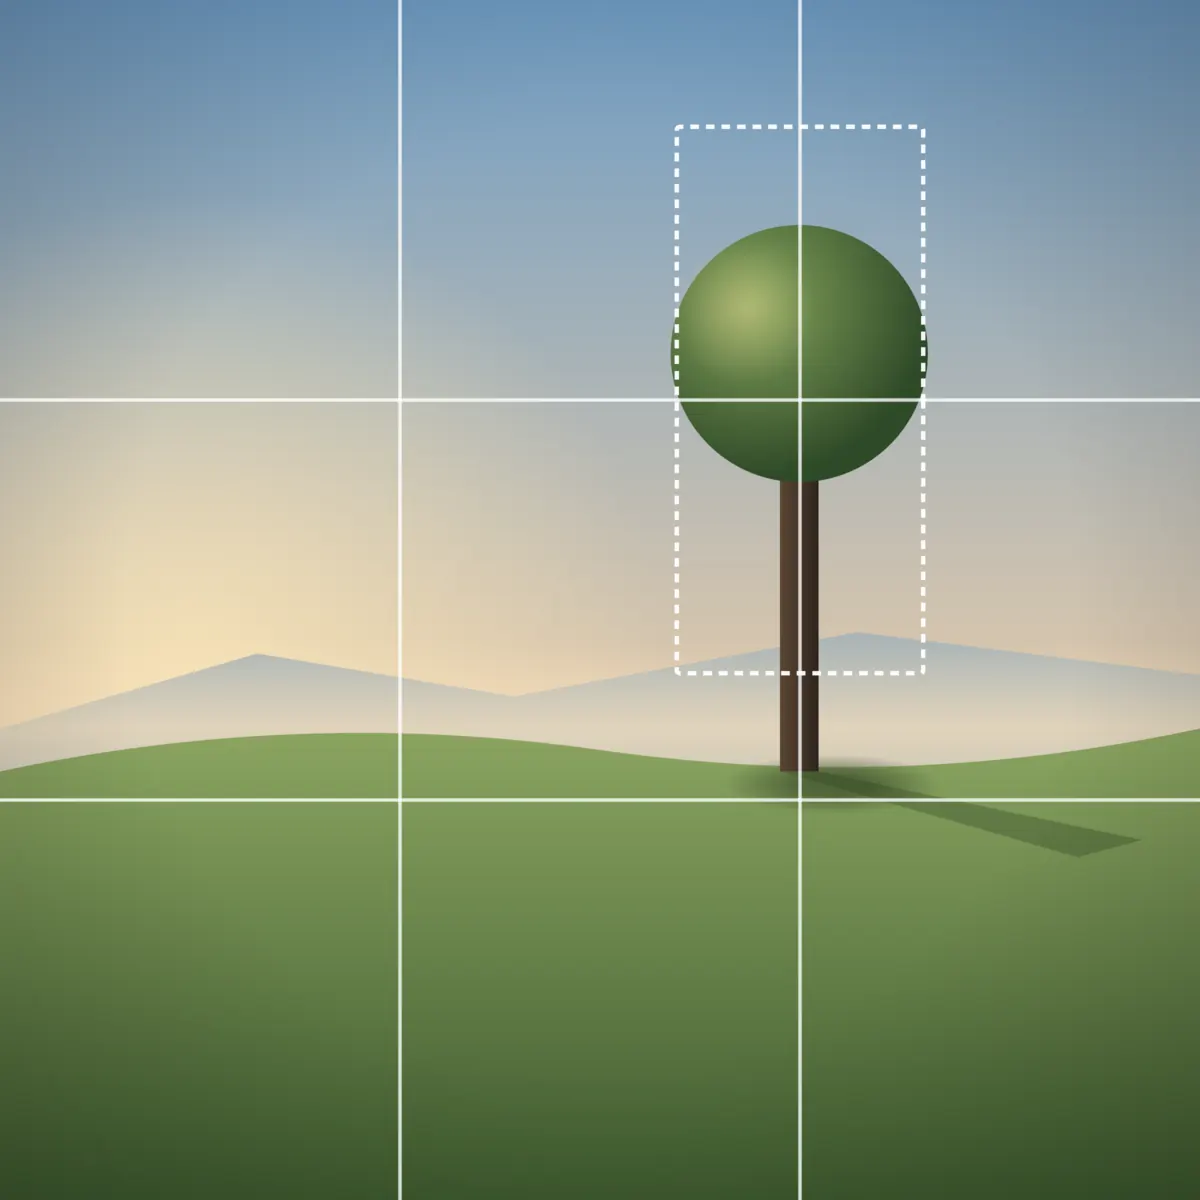
Picture two vertical lines and two horizontal lines, each a third of the way in from the edge. They cross in four places. The rule asks for two things:
- The subject on a crossing. A face, a boat, a lone tree. Pick the crossing that leaves the most useful space around it.
- The horizon on a line. Put it on the upper third or the lower third, so the picture commits to either the ground or the sky.
That is the whole rule. It is a starting position. It says nothing about light, timing or what the picture is about. It only gets the subject out of the exact middle, where a small subject in a wide frame tends to look parked.
Which crossing to choose
Four crossings is a real choice, and it changes the picture. A few habits help:
- Give a moving or looking subject room ahead. A cyclist heading right goes on the left third. A face turned left goes on the right third, so the gaze has space to land.
- Put the subject where the light is. If the bright part of the scene is high, use an upper crossing.
- Use the lower crossings for weight. A subject low in the frame feels grounded. A subject high in the frame feels lighter, or further away.
How to use thirds on an iPhone
The Camera app has a grid under Settings, Camera, Grid. Turn it on. It draws the four lines and nothing else, so the rest is up to you.
- Find the subject first. Decide what the picture is of before you look at the grid.
- Move the phone, not your eye. Pan until the subject sits on a crossing. Small moves count: a few degrees of pan shifts the subject a long way at 1×.
- Level the horizon, then place it. A tilted horizon on a third still looks like a mistake. The Camera app’s level helps here.
- Check the edges. Moving the subject off centre pulls new things into the other side of the frame. Make sure they belong.
For landscapes the choice of line matters more than the crossing. When the sky is dramatic, put the horizon on the lower third and give the sky two thirds of the frame; the Two-Thirds layout adds one clear subject on the upper crossings. When the foreground is the story, put the horizon on the upper third and give the ground most of the picture.
Why it works, briefly
A centred subject makes both halves of the frame equal, and equal halves feel still. A subject on a third makes one side bigger than the other. The larger side becomes context: the road the runner came from, the sea the boat is heading into, the wall behind a portrait. The picture reads as a relationship between the subject and its surroundings, which is usually what you want from an everyday photo.
That is also why the rule fails in some scenes. When the surroundings carry nothing, or when the subject is the whole picture, the off-centre placement has nothing to say.
When to break the rule of thirds
The scene is symmetrical
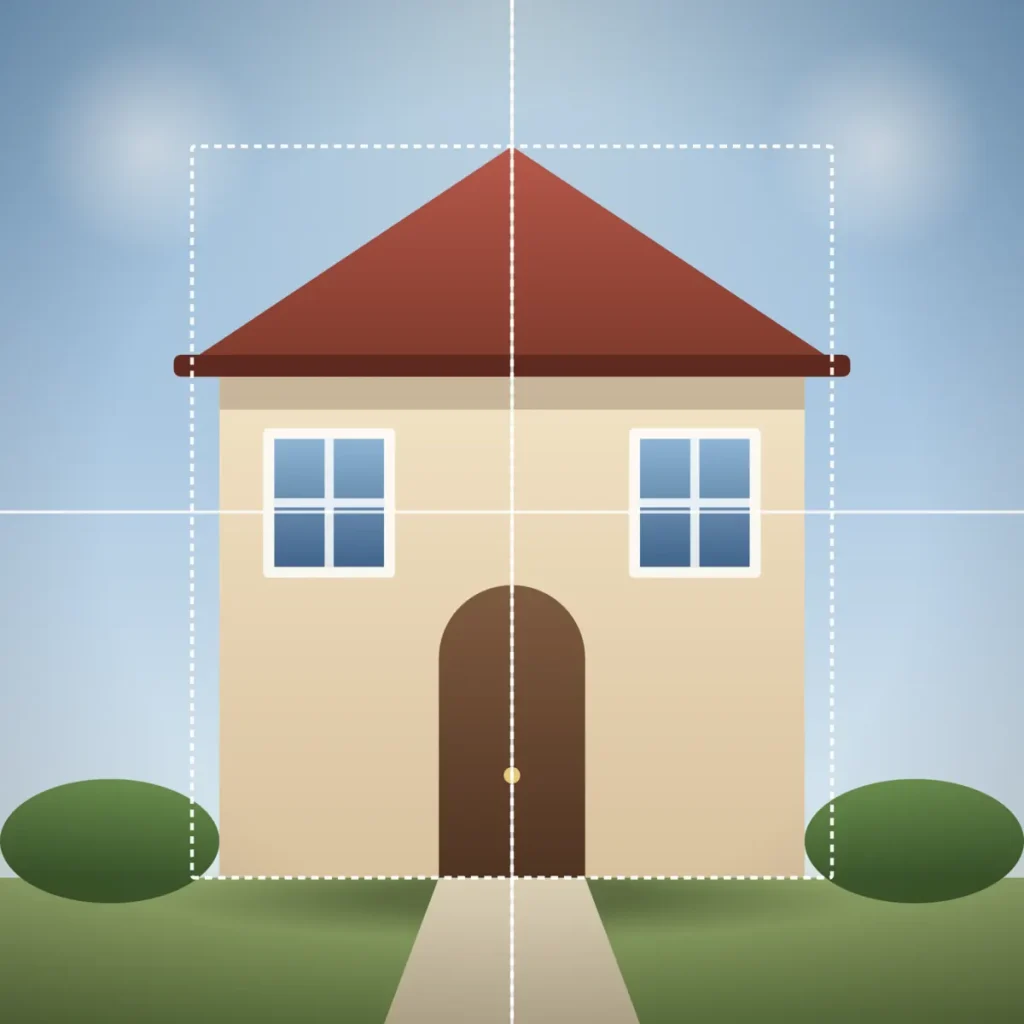
A doorway, a facade, a bridge seen square on. These scenes are balanced left to right already, and pushing the axis to a third throws that balance away. Centre the axis and stand square to it. Dead Centre and Vertical Symmetry are the guides for this.
The subject fills the frame
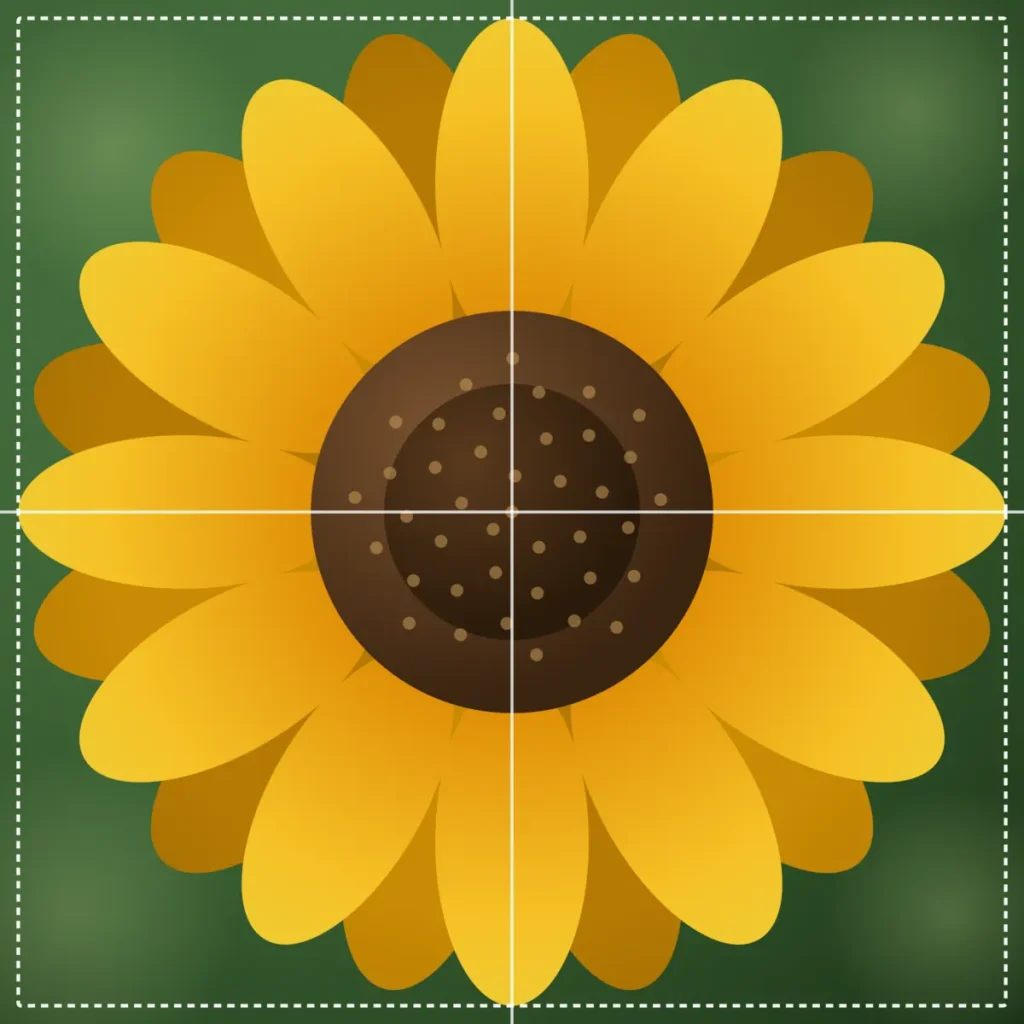
Once a subject takes up half the picture or more, there is no meaningful crossing to put it on. A close portrait, a flower head, a plate of food shot tight. Here you fill the frame and let the edges crop the subject with care.
Lines run into the middle
A corridor, a railway platform or a straight road seen from its centre has a vanishing point. The picture is strongest when that point sits in the middle and you stand square to it. Put it on a third and the lines pull the eye toward one edge instead.
The subject is tiny
A small subject in a lot of calm space can go almost anywhere, as long as the space around it is clean. Thirds still work here, but the edges and the empty area matter more than the exact crossing.
There is more than one subject
Two objects often read best on opposite crossings, so the frame reads as a diagonal. Three objects often read best as a triangle. The grid helps you place them, but the shape they make together is the composition.
Common mistakes
- Placing the wrong point. For a person, put the eyes on the line. The middle of the body is the wrong point to place.
- Cutting at joints. Moving a person to a third often crops them at the knee or wrist. Crop between joints instead.
- Forgetting the horizon. A subject on a crossing with the horizon through the middle splits the picture in two.
- Using thirds as a verdict. A photo is not wrong because the subject is centred. Ask whether the empty side of the frame does anything.
Letting the camera suggest the layout
The hard part is often knowing which of these cases you are in. Camera Grid reads the scene on the phone, picks a guide that fits it, draws the target over the viewfinder and scores how close you are in a ring around the shutter. Rule of Thirds is its everyday default, and it hands over to Dead Centre, Fill the Frame or One-Point Perspective when the scene calls for them.
Checklist
- Decide what the subject is before you look at the grid.
- Put it on the crossing that leaves room where it looks or moves.
- Level the horizon, then put it on the upper or lower third.
- Check what the move pulled into the other side of the frame.
- Centre instead when the scene is symmetrical or a vanishing point sits in the middle.
- Fill the frame when the subject is more than about half the picture.