Camera Grid

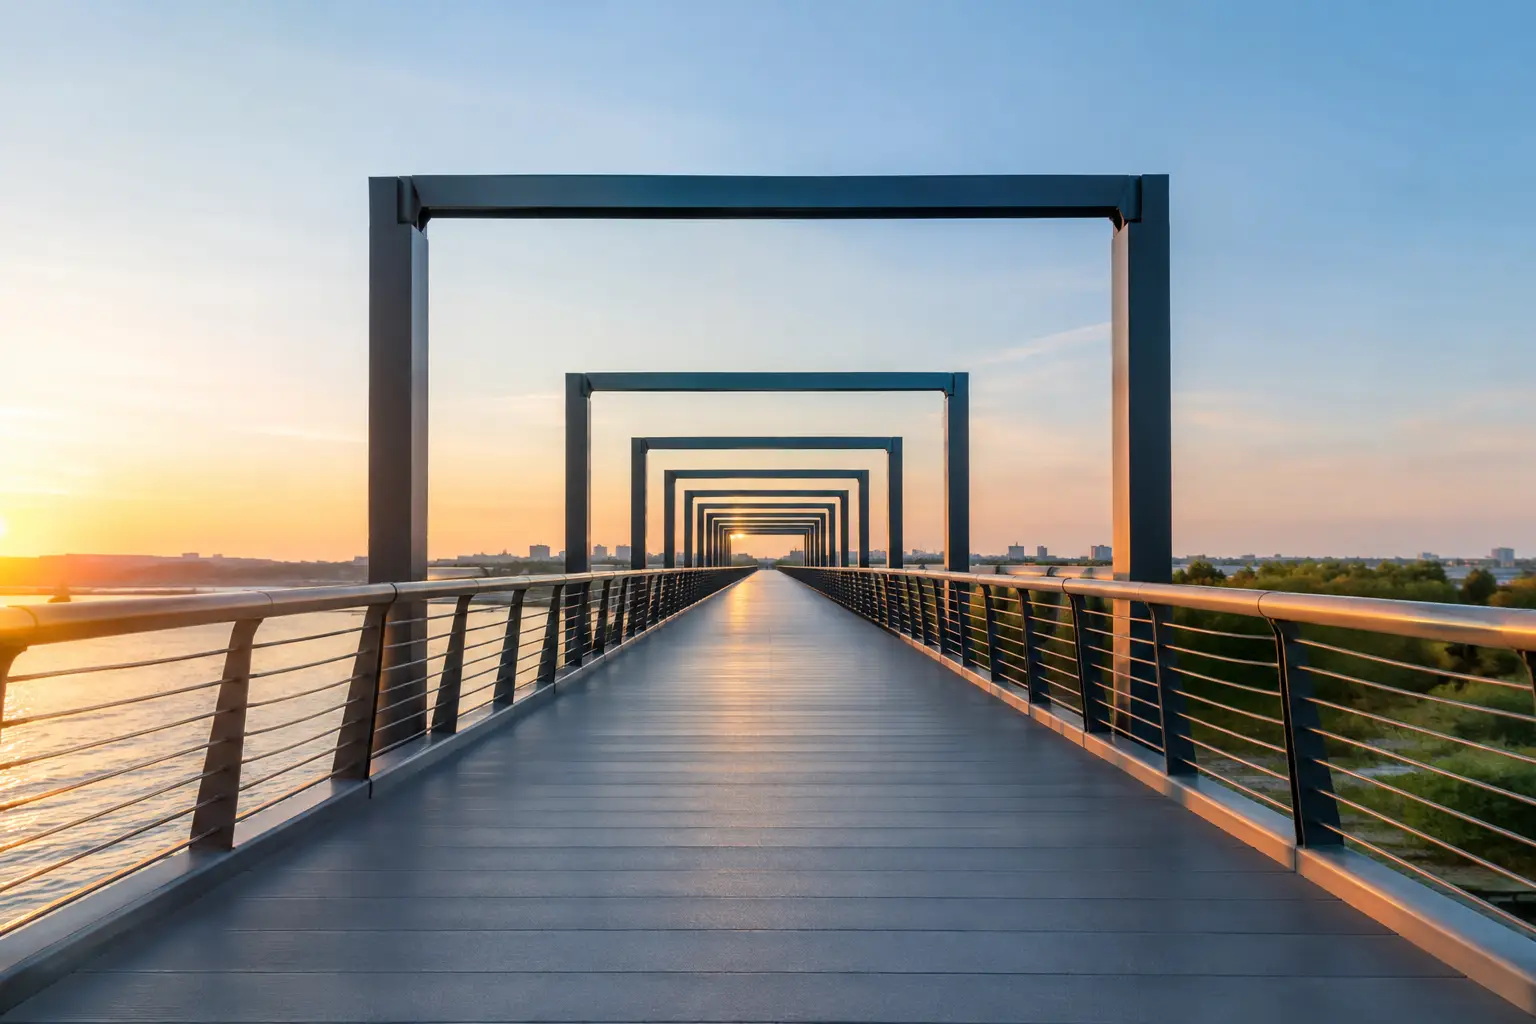
A long hallway gives you the composition before you press the shutter. The floor seams, ceiling lights, and door frames all pull toward one place in the distance. One point perspective photography works when you recognize that pull, place it deliberately, and keep the camera square to the scene.
This is not a trick reserved for grand architecture. Use it in a subway car, a grocery aisle, a hotel corridor, a bridge, a road, or a child running down a path. The structure creates order. Your job is to decide where that order leads.
What One Point Perspective Photography Does
One-point perspective describes a scene where lines that are parallel in real life appear to meet at one vanishing point in the image. Think of railroad tracks narrowing toward the horizon. The rails do not actually touch. Your camera translates their depth onto a flat frame, and they appear to converge.
The effect is strongest when you face the subject head-on. A centered hallway, straight road, or symmetrical room gives the eye a clear route through the photograph. The vanishing point becomes the destination.
That is why this approach feels so direct. It can make an ordinary passageway feel cinematic, make a small room feel longer, or turn a simple street into a photograph with real momentum. It also exposes careless framing quickly. If the camera is tilted, off-center, or aimed slightly left, the geometry loses its authority.
Find the Vanishing Point First
Before you worry about exposure or color, find the point where the receding lines meet. It may sit at the end of a corridor, on the horizon of a road, or behind a distant doorway. In some scenes it is visible. In others, you need to extend the lines mentally until they intersect.
Then make a choice. Place that point in the center for a stable, formal image. This is often the right move for architecture, tunnels, aisles, and scenes with bilateral symmetry. Centered composition is not a rule to avoid. When the geometry is balanced, centering is the point.
Move the vanishing point away from center when you want tension or need space for a person. A cyclist entering from one side, for example, may need room ahead of them. Put the vanishing point slightly to the opposite side so the lines still pull the viewer through the frame while the subject has somewhere to go.
Do not place it off-center by habit. If the scene is naturally symmetrical, an arbitrary offset often reads as a mistake rather than a creative decision.
Let the lines do the directing
Look for at least two strong lines that repeat or recede: curb edges, tile joints, roof beams, shelving, handrails, lane markings, or rows of lights. More lines can strengthen the effect, but only if they agree on the same destination.
A cluttered street can have many competing directions. In that case, simplify. Step to one side. Lower the phone until a curb becomes more prominent. Wait for a bus or pedestrian to clear the frame. One-point perspective depends on visual discipline. Remove the lines that argue with the scene.
Keep Your iPhone Square to the Subject
The most common failure is not a missing vanishing point. It is a camera that is not parallel to the main surface in front of it.
If you photograph a hallway while standing slightly to the left, one wall becomes dominant and the far doorway shifts. If you tilt the phone upward, vertical lines lean inward. If you angle it down, the floor takes over and the ceiling disappears. Any of those choices can work, but they change the composition from clean one-point perspective to something less controlled.
Start with a level phone. Hold it at chest or eye height. Align the center of the frame with the center of the hallway, road, or room. Keep vertical lines vertical. Then make small corrections: pan left, pan right, tilt up, or tilt down. Small changes matter because the geometry is doing most of the visual work.
Use the grid as a reference, but do not let it become the entire method. A standard grid can help you keep the horizon level. It cannot tell you whether the scene is actually centered around its vanishing point. A scene-aware composition guide such as Camera Grid can identify architectural lines and symmetry in the live viewfinder, then give you one clear correction while you frame. The goal is not to chase an overlay. The goal is to see the structure, correct the frame, and shoot.
Choose Height With Purpose
Camera height changes the feeling of depth. Shoot from a low position and floor lines spread outward dramatically. This works well with paths, boardwalks, train platforms, and modern interiors. Get close to the ground only when the foreground adds something. A low angle with empty pavement is just empty pavement.
Shoot from eye level for a more natural, immersive view. This is usually the safest choice in a hallway, on a sidewalk, or when a person is part of the frame. The viewer feels as if they could walk directly into the scene.
Raise the phone when you need to reduce a busy foreground or show repeated patterns across a floor. In a restaurant, a higher angle can turn tables and aisle edges into lines that point toward the back of the room. Watch for distortion at the edges, especially in tight spaces.
There is no universal best height. Pick the height that makes the leading lines clear and gives the vanishing point a useful role.
Put a Subject at the End of the Path
A strong one-point perspective image does not always need a person. Empty architecture can be the subject. But a small figure near the vanishing point gives scale, story, and a reason for the viewer to travel through the frame.
Place the person near the point where the lines converge, not directly on top of it unless you want a graphic, almost poster-like result. A slight separation lets both the person and the geometry read clearly. Ask them to walk, pause, or turn toward the light. A rigid pose in the middle of a corridor can feel staged fast.
For travel photos, use a companion walking toward an archway, down a pier, or through a station platform. For family photos, let a child move away from the camera along a path. For street scenes, wait until one person enters the cleanest part of the frame. Patience is often more useful than a faster shutter tap.
Watch the scale of the subject
The farther your subject stands from the camera, the more the lines dominate. That can make a person feel small, isolated, or adventurous. Bring them closer and they become the primary subject while the perspective becomes support.
Neither is automatically better. If you are photographing a striking tunnel, make the person small. If you are making a portrait in a corridor, bring them forward and use the walls as directional framing. Decide what the photo is about before you place the person.
Use Lens Choice Carefully
Your iPhone’s 1x camera is a reliable starting point. It usually gives you a natural field of view and enough space to show the scene without making the edges feel exaggerated.
Use the ultra-wide camera when the location is tight or the foreground lines are essential. It can make a narrow hallway feel immense, but it also exaggerates perspective and can bend lines near the edges. Keep important architecture away from the outer frame when possible. Check faces closely if a person stands near an edge.
Use 2x or longer when you want to compress the scene and reduce the sense of depth. That is usually not the first choice for classic one-point perspective, but it can be effective when distant repeating forms are the real subject. A long hotel hallway shot at 2x can feel orderly and graphic rather than expansive.
Do not switch lenses just because one appears more dramatic. Start with the angle that preserves the lines you need.
Exposure and Focus: Keep Them From Distracting
Perspective is structural, but exposure still decides whether the eye reaches the vanishing point. Bright windows at the end of a corridor can pull attention too strongly or turn the destination into a blank white patch. Tap to focus near the point of interest, then adjust exposure down slightly if the highlights are clipping.
Use AE/AF Lock when the frame is stable and the light is uneven. This prevents the phone from changing brightness as a person walks into the scene or as you make small framing corrections. In low light, brace the phone against a wall, railing, or your body. A sharp set of lines carries more impact than a noisy, blurred frame.
Night scenes offer a useful variation. Streetlights and ceiling fixtures become repeated points that reinforce the route toward the distance. Keep the phone still. Let the scene retain some shadow. Lifting every dark area can flatten the depth you worked to create.
Field Notes for Common Scenes
On a road, stand where the center line or lane edges lead cleanly forward. Keep the horizon level and do not shoot from the middle of active traffic. A slight rise in the road can hide the vanishing point, which creates suspense but weakens the textbook effect.
In a hallway, begin at the exact center. Use door frames and lights to confirm your alignment. If the end wall contains a window, expose for it first, then decide whether the darker walls add useful contrast.
In a subway or train car, use the repeating seats and ceiling panels, but wait for the frame to simplify. One person at the far end can be enough. Ten people looking at phones usually break the visual rhythm.
In a grocery aisle, look for repetition in product colors and shelf edges. Keep the phone level. A cart pushed into the foreground can add scale, but it can also block the lines. Take both versions.
When to Break the Centered Rule
One-point perspective is often centered, not always centered. Break the symmetry when the scene gives you a better subject, stronger light, or needed negative space. A shaft of window light on one wall may deserve more room than the other. A person walking diagonally into the frame may need an off-center position to feel natural.
The test is simple: do the receding lines still lead somewhere intentional? If they do, you can bend the formal setup without losing the photograph. If the lines simply drift and the subject has no clear place, reset.
Find the point. Square the frame. Let the lines lead. Then wait for the one detail that makes the structure worth photographing.