Camera Grid
Leading lines are lines in a scene that carry the eye toward the subject: a path, a fence, a kerb, a shoreline, the edge of a table. To find them, look down and around before you look at the subject. Most lines are already there, and the work is choosing where you stand so they point at what matters. Get low to make them longer, put their meeting point on or near the subject, and keep them from running out of a corner. This guide shows where to look, and the three main shapes lines take: several lines converging on a subject, a single vanishing point, and an S-shaped curve.
Where to look for lines
Almost every place has lines. They are just easy to walk past. A few places to check:
- The ground. Paving joints, road markings, tram rails, the edge of a lawn, a boardwalk.
- Edges. A kerb, a wall, a handrail, a shoreline, the rim of a pier.
- Repeated things. A row of lamp posts, a line of parked bikes, arches down a colonnade. Repeated objects read as a line.
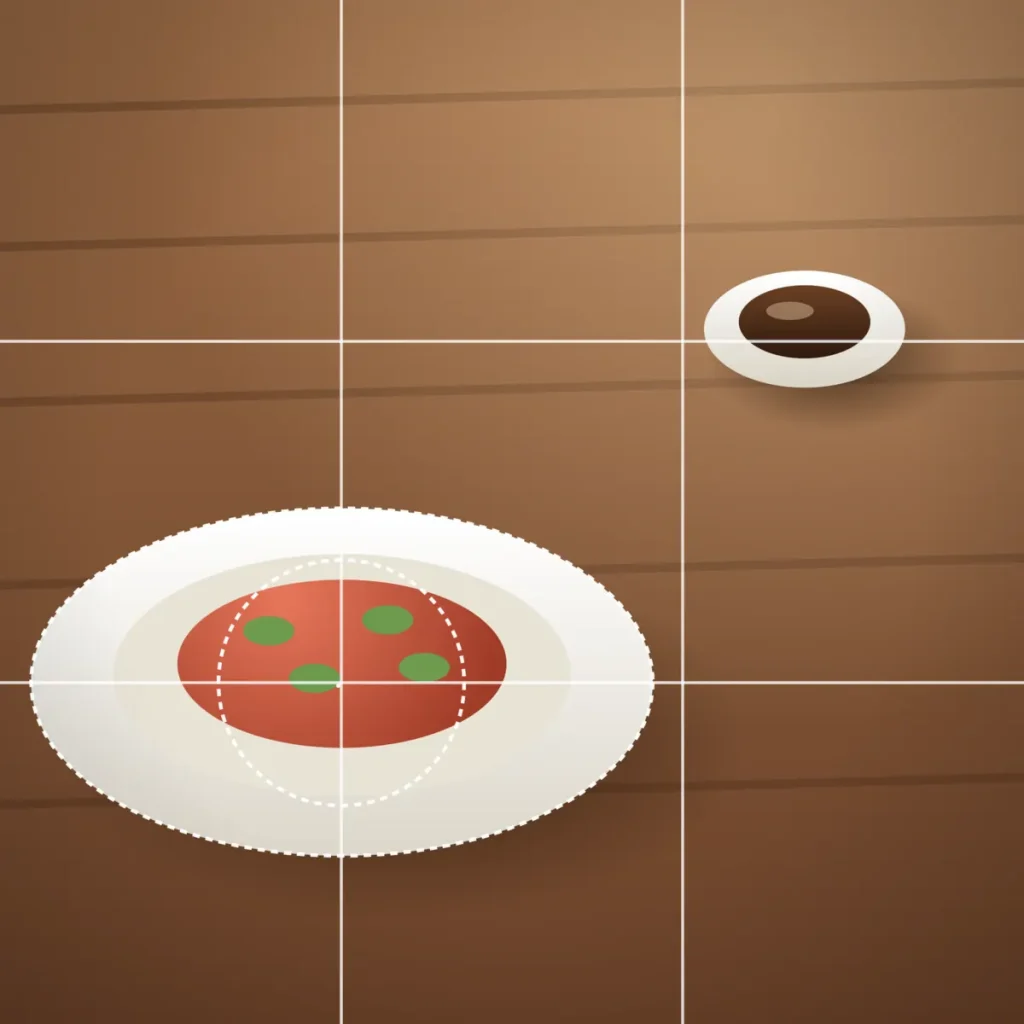
- Light. Shadows of railings, a strip of sun across a floor, a window’s light falling on a table.
- Indoors. Shelves, the edge of a bench, the lines of a tiled floor, a corridor’s ceiling.
Once you start looking for lines, you will find more than you can use. The question becomes which ones point somewhere useful.
Three shapes lines take
Lines that converge on the subject
This is the classic case. A path, a rail and a hedge all run toward a person standing further along. The lines do not have to meet at one point. They just need to agree on a direction, and the subject should be where they are heading.
Put the subject where the lines close in. If the lines meet beside the subject, the eye lands on empty space and then has to jump across. The Leading Lines guide is built for this: several lines carrying the eye into a small subject, with no single vanishing point.
One vanishing point in the middle
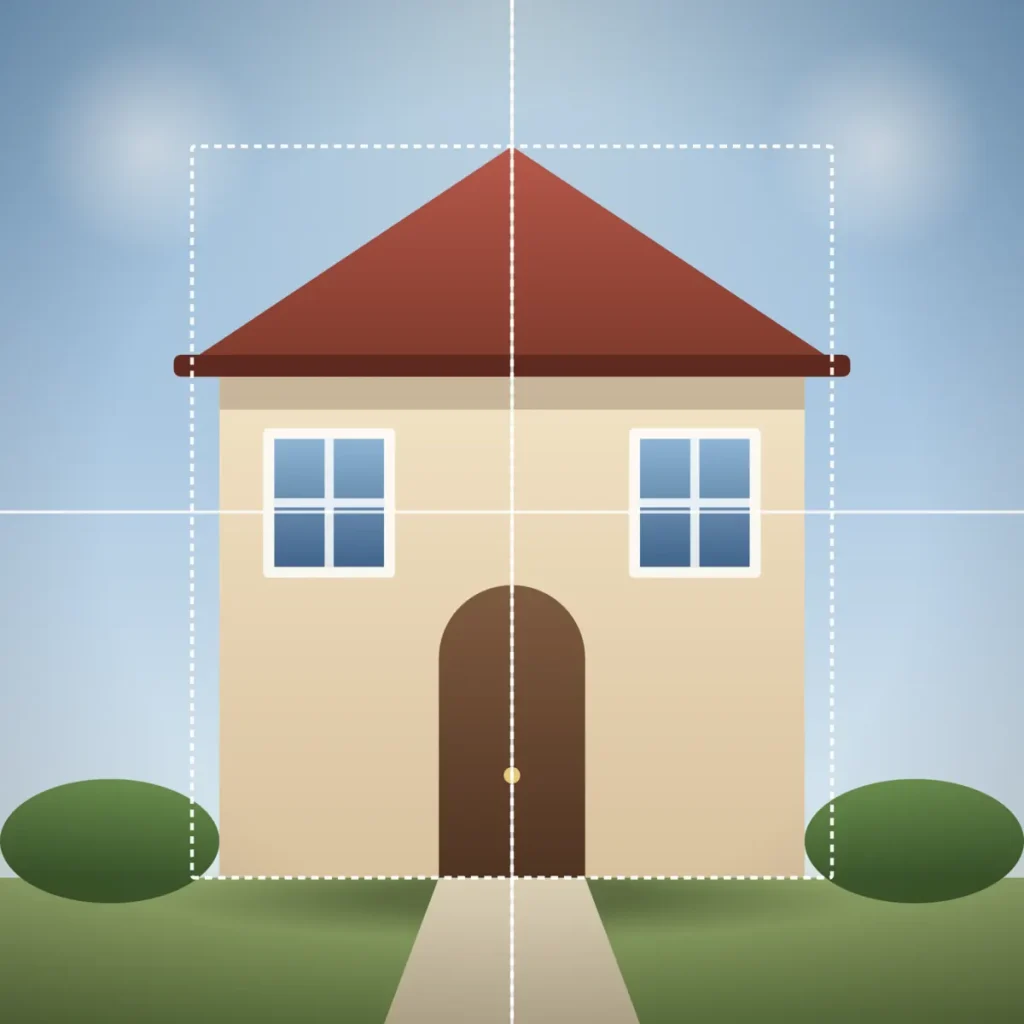
A corridor, a railway platform, a straight road, an avenue of trees. Here all the lines meet at one point in the distance. The strongest picture usually puts that point in the middle of the frame and has you standing square to it, so the two sides mirror each other.
Stand in the centre of the path. Hold the phone level and upright. If the verticals lean, the corridor looks like it is falling over. One-Point Perspective is the guide for this.
A curve that winds through the frame
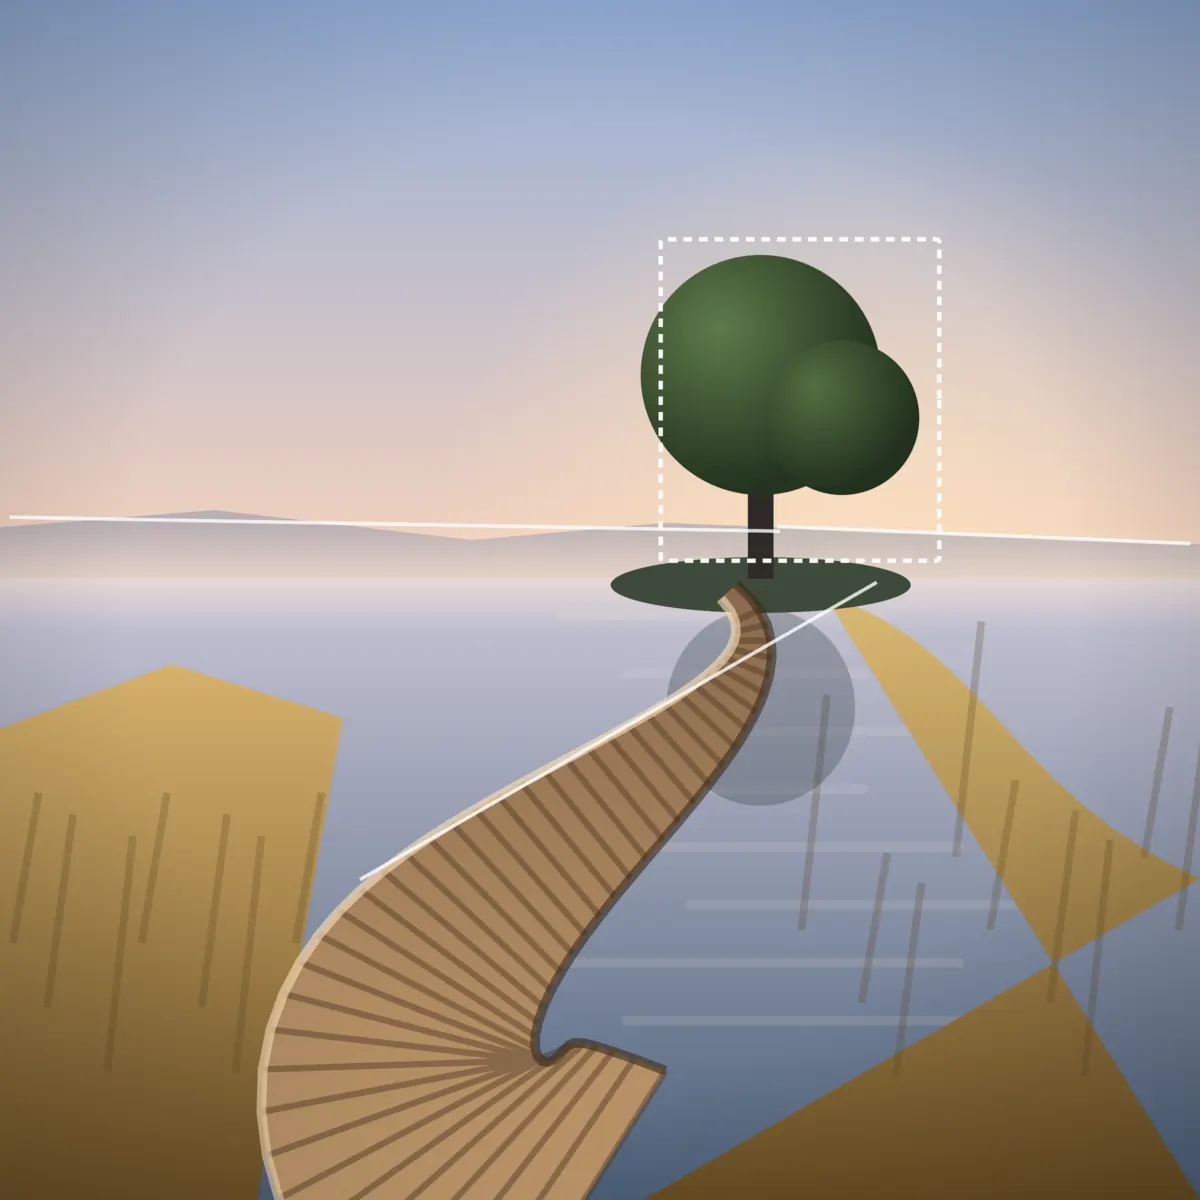
A river, a mountain road, a footpath through a field. A curve is slower than a straight line. The eye follows it back and forth instead of shooting straight to the end. The shape to look for is an S: the curve enters at the bottom of the frame, swings one way, then the other, and fades into the distance.
Let the curve enter near a bottom corner. That gives it the full height of the frame to wind through. Height helps here: a bridge, a hill or a window above the road shows more of the curve. The S-Curve guide draws this shape.
How to make lines stronger
- Get low. Crouch so the phone is close to the ground. Lines near the lens stretch and gain weight. A path seen from knee height looks like it runs a long way.
- Use the wide lens. At 0.5× lines near the camera spread out and pull toward the centre dramatically. Watch the edges, which stretch too.
- Start the line in a corner or at the bottom edge. A line that begins at the frame’s edge draws the eye in from outside.
- Keep the lines leading in. A line that runs out through a corner takes the eye with it. Reframe so it points into the picture.
- Wait for the subject. Find the lines first, then wait for a person or a car to arrive where they meet.
Mistakes that break leading lines
- Lines with nowhere to go. Strong lines leading to an empty point make the picture feel unfinished. Give them a subject, or a clear end.
- Too many directions. Lines crossing each other in several directions cancel out. Pick a spot where most of them agree.
- A tilted camera. Converging lines exaggerate a tilt. A slightly crooked corridor looks badly crooked.
- A big subject covering the lines. If the subject blocks where the lines meet, the lines lose their point. Step back or zoom out so the subject sits at the end of them.
Seeing the lines on screen
Lines are easy to see in a scene and easy to lose once you raise the phone. Camera Grid reads the lines in the viewfinder on the phone and offers One-Point Perspective when it finds a clear vanishing point, and, with Camera Grid Pro, Leading Lines or S-Curve when the lines converge on a subject or wind through the frame. It is deliberately cautious: it offers these guides only when the lines are strong, and it coaches one move at a time, such as panning toward the vanishing point or holding the phone upright.
Checklist
- Look at the ground and the edges before you look at the subject.
- Choose where to stand so the lines point at what matters.
- Put the subject where the lines close in.
- For a single vanishing point, stand in the centre and keep the phone upright.
- For a curve, let it enter near a bottom corner and wind to the back.
- Get low, and keep lines from running out through a corner.