Camera Grid

A plate can be beautifully prepared and still look flat in a photo. The usual problem is not the iPhone camera. It is the frame. iPhone food photography composition comes down to deciding what the eye should notice first, what supports it, and what needs to leave the shot.
Do not start by moving the food. Start by choosing the view. A bowl of ramen, a stack of pancakes, and a long table set for dinner each ask for a different composition. Pick the structure first. Then make small corrections until every object has a job.
Start With One Clear Subject
Choose the hero before you raise the phone. It might be the main plate, the cut edge of a cake, a hand pouring sauce, or the repeating pattern of several small dishes. If everything claims equal attention, the image feels like evidence of a meal rather than a photograph of it.
Place the hero where the composition can support it. For a single plated dish, the rule of thirds often gives the frame breathing room. Put the plate near an intersection rather than directly in the middle, then use a napkin, glass, or utensil to balance the opposite side.
Centering can be stronger when the food has symmetry. A round pizza, a carefully arranged breakfast tray, or a bowl seen directly from above can hold the center with confidence. Keep the camera level. A nearly centered shot with a slight tilt looks accidental.
Before shooting, ask one question: if someone saw this image for one second, where would their eye land? If the answer is the bright fork in the corner or a crumpled receipt, simplify the frame.
Use the Right Angle for the Food
Angle determines shape. It also determines which composition guide makes sense.
Shoot overhead when the surface tells the story
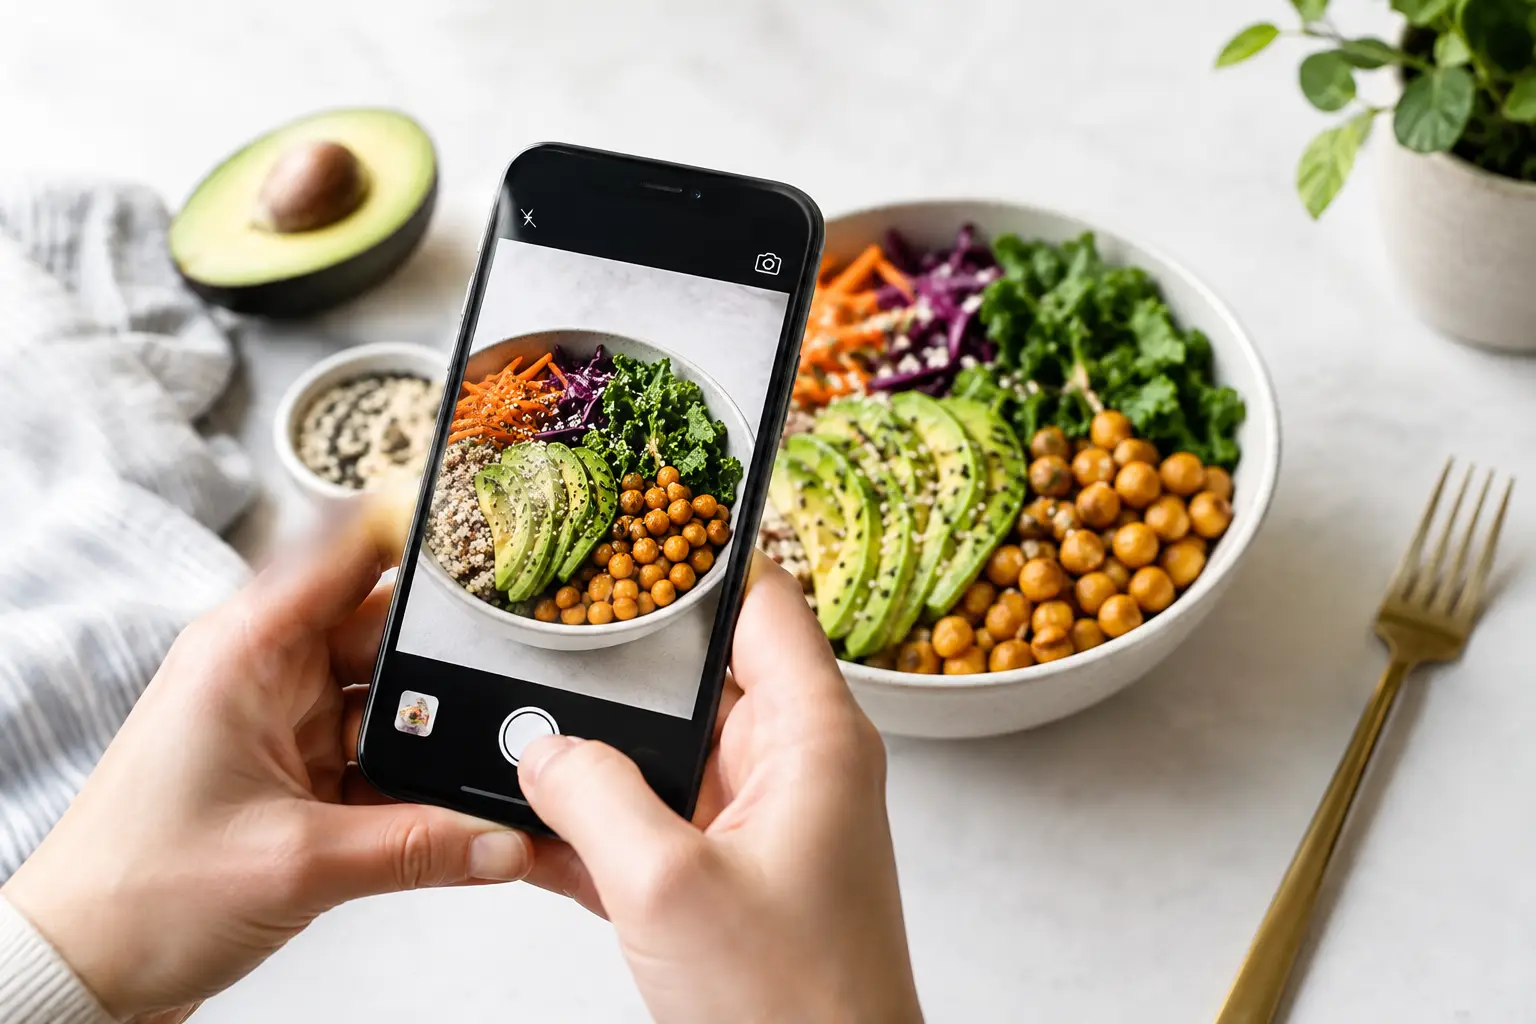
Go directly above the table when the dish is graphic, flat, or arranged in a pattern. Pizza, tacos, pastries, sushi, and shared spreads usually benefit from this view. Overhead framing turns the table into a two-dimensional layout, so spacing becomes critical.
Keep circles circular. Hold the iPhone parallel to the table, not merely above it. Then move the plate a few inches at a time. A plate pushed too close to one edge can feel cramped unless the crop is deliberate.
Use negative space with intent. A clear section of table can make a colorful dish feel more prominent. Empty space is not wasted space when it gives the subject room to hold attention.
Lower the camera when height and layers matter
Burgers, stacked pancakes, parfaits, sandwiches, and drinks need a lower angle. Their appeal is vertical. A top-down image may show the ingredients, but it hides the height, texture, and layers that make the food look generous.
Start around table level, then raise the phone slightly until the front edge of the dish feels substantial without blocking the top. Watch the background. At low angles, a cluttered restaurant wall, another diner, or bright window can take over quickly.
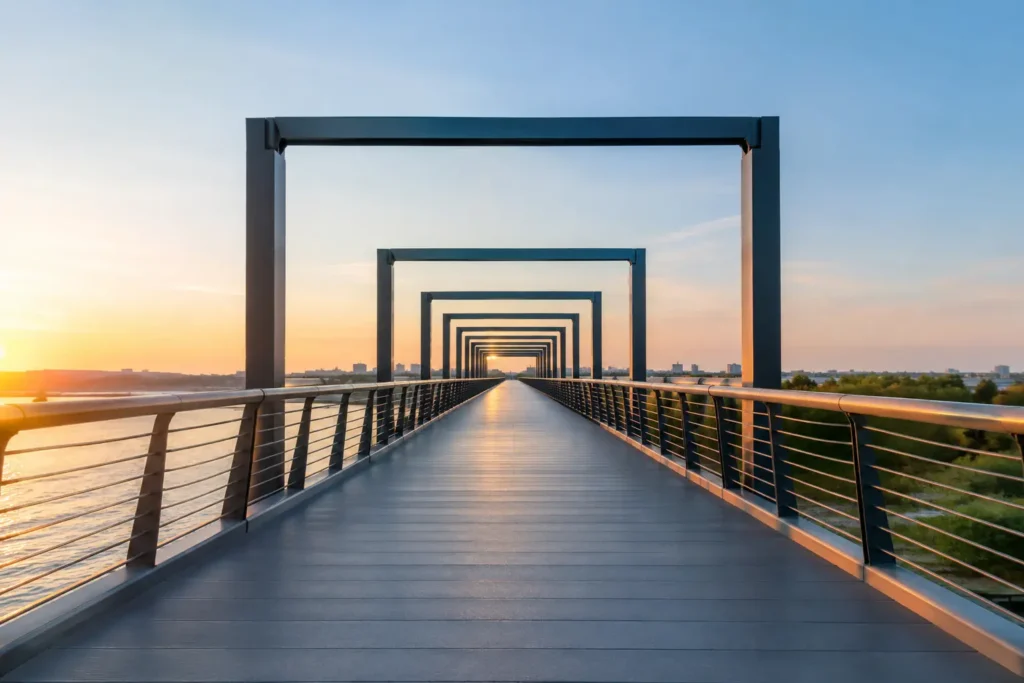
Use a diagonal table edge or a row of glasses to pull the eye toward the food. That is a natural use of leading lines. The line should point to the hero, not away from it.
Choose a 45-degree view for familiar dining scenes
The three-quarter angle is often the most flexible option. It shows both the surface of the food and enough depth to make it feel present. Use it for plated entrées, coffee and pastry, or a casual lunch where hands, menus, and table details matter.
At this angle, avoid letting plates become ovals that slide out of frame. Step back slightly. Give yourself room to crop later, especially when shooting at a higher resolution.
Build a Frame With Supporting Objects
Food rarely needs many props. It needs useful ones. A fork can establish scale. A folded napkin can add shape. A glass can introduce a highlight. Each item should either direct the eye, balance the frame, or add a believable sense of place.
Arrange supporting objects into a loose triangle around the hero. This creates movement without forcing perfect symmetry. For example, place a plate in the lower right third, a drink near the upper left, and a small bowl or hand between them. The eye can travel through the image instead of stopping at the center.
Do not scatter items evenly around the plate. Equal spacing makes a scene feel staged and static. Let one side carry more visual weight, then counterbalance it with a smaller but brighter or darker detail.
Field note: utensils are powerful compositional tools, but only when their handles lead inward. A fork pointing out of the frame gives the eye an exit. Rotate it until it returns attention to the dish.
Control Edges Before You Tap the Shutter
The edge of the frame is where otherwise strong food photos fail. A clipped glass, half a condiment packet, or a stranger’s sleeve can make the image feel careless.
Scan all four edges before you shoot. Remove distractions when you can. If you cannot move them, change your position. Pan left. Tilt down. Step closer. A small shift is usually faster than trying to repair a weak frame later.
Cropping can add energy, especially with a large table spread. Let a plate or serving board run beyond the edge only if the crop looks intentional. Cut through a broad, simple shape. Avoid slicing through a garnish, a glass rim, or the focal point of the dish.
At restaurants, do not try to include every plate, every hand, and every piece of decor. Decide whether the story is the meal, the person eating it, or the place. One frame cannot carry all three with equal force.
Let Light Set the Direction of the Frame
Composition and light work together. Window light from the side is especially useful because it reveals texture in bread, foam, roasted vegetables, and glossy sauces. Place the brighter side of the dish toward the part of the frame that needs attention.
If the window is behind the food, use it for shape and atmosphere, but protect the highlights. Tap and hold on the food to set AE/AF lock, then lower exposure slightly if the background is washing out. A darker background can help a bright plate separate cleanly.
Overhead light creates strong shadows under bowls and glasses. Sometimes that graphic contrast works. Sometimes it makes food look dull. Rotate the plate or move to the edge of the table to change the shadow direction before changing camera settings.
Avoid using flash as the first fix. It can flatten texture and produce harsh reflections on sauces, cutlery, and glassware. If the scene is genuinely dark, simplify the composition and stabilize the phone rather than filling the table with extra objects.
Match the Guide to the Scene, Not the Habit
A permanent grid is useful, but it cannot tell you whether the scene wants symmetry, diagonals, or a centered overhead frame. Food photography changes quickly as plates arrive, hands enter, and light shifts.
Camera Grid analyzes the live scene on-device and can surface a suitable guide while you frame. Use that feedback as a correction, not a command. If a symmetry guide appears for an overhead pizza, level the phone and center the dish. If leading lines fit a table setting, align the cutlery or table edge so it carries attention toward the meal. The goal is not to obey an overlay. The goal is to make the visual structure obvious.
Keep the correction small and specific. Move right. Raise the camera. Remove the glass. Lock focus. One clear adjustment is easier to make than five vague improvements.
Know When to Break the Clean Frame
A perfect tabletop arrangement is not always the best food photograph. A hand tearing bread, steam lifting from a bowl, or a spoon midway through a dessert can make the image feel more immediate. In those cases, let the action interrupt the structure, but protect the hero.
Leave space in front of movement. If a hand reaches in from the left, keep the dish and the action within the frame rather than crowding the left edge. If steam rises, give it a darker background where it can be seen.
Mess can also be part of the story. Crumbs, sauce, and a used napkin can suggest a meal worth eating. The trade-off is clarity. Keep the mess close to the subject and remove unrelated clutter. Lived-in is different from disorganized.
The strongest food photos make one decision clear. Choose the subject. Choose the angle. Check the edges. Then make the small move that gives the plate room to speak.